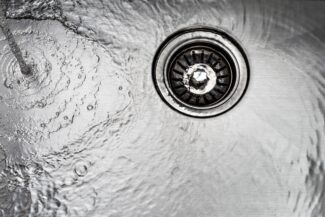
Why Does My Drain Smell Bad? Common Causes and Solutions
28/05/2026

Our experienced team offers services for both residential and commercial properties. With over 25 years of experience in the industry, we boast all of the knowledge and expertise in repairing.
P.O. BOX 14641 -VAN NUYS, CA 91409
Blog


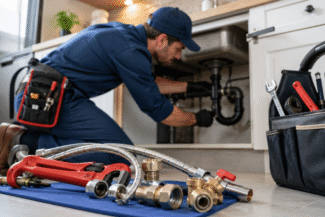
If you want to know how to fix a leaky faucet, you’re not alone. This common issue frustrates many homeowners and can waste significant water. In this post, we’ll explore how to fix a leaky faucet, discuss common causes, and highlight when it’s best to call a professional.
To effectively learn how to fix a leaky faucet, it helps to understand its common causes. Here are a few frequent culprits:
If you notice any of these problems, it’s time to take action. Consequently, identifying the cause will guide you in how to fix a leaky faucet effectively.
Discover more plumbing tips here.
Now, let’s dive into how to fix a leaky faucet. By following these simple steps, you can get started on your repair:
Before you begin, make sure you have the right tools on hand. Specifically, you will need:
The first step in how to fix a leaky faucet is to turn off the water supply. Therefore, look for the shut-off valves under the sink and turn them clockwise. If you can’t find them, turn off the main water supply to avoid any mess.
Next, carefully remove the faucet handle using a screwdriver. You may need to take off a decorative cap to access the screws. Once the handle is off, you can clearly see the internal components.
Now, check the washer, O-ring, and valve seat for signs of wear. If you notice any damage, replace those parts with new ones. Fortunately, you can find these parts at your local hardware store or online.
Shop for plumbing supplies at Rooter-Plumber.com.
After replacing the parts, reassemble the faucet in reverse order. Be sure to tighten all screws securely to prevent future leaks. Additionally, double-check your work to ensure everything is in place.
Finally, turn the water supply back on. Run the faucet for a few minutes to check for leaks. If everything is working correctly, congratulations! You’ve successfully learned how to fix a leaky faucet!
While many faucet leaks can be fixed with DIY methods, some situations require professional help. Therefore, call an expert if you notice:
Contact us for expert plumbing services.
Fixing a leaky faucet is a task most homeowners can tackle. By understanding the common causes and following these steps on how to fix a leaky faucet, you can save water and avoid extra costs. If you need help or have questions, please reach out to us at Rooter-Plumber.com. Our team is ready to assist with all your plumbing needs.